Painting Razorspawn
These little ankle bitters can be painted in a variety of ways. Don’t let me sway you one way or the other. It’s best to experiment!
Prime
I started with a light grey prime. I recommend this because we’ll be using speed paints to get this job done quickly. There’s a lot of these little guys. For this, I chose Vallejo Grey Airbrush primer but you can use whatever lighter tone you have from a rattle can. Citadel Wraithbone would probably work well for this application.
Skin
For the skin, if that’s what you want to call it, I mixed 1 drop of Speed Paint Purple Alchemy to 4 drops of Speed Paint Bony Matter. I also used one drop of Speed Paint Medium to help it all mix together and tone it down. The result is a nice color that will give us a great base to work with.
Shell
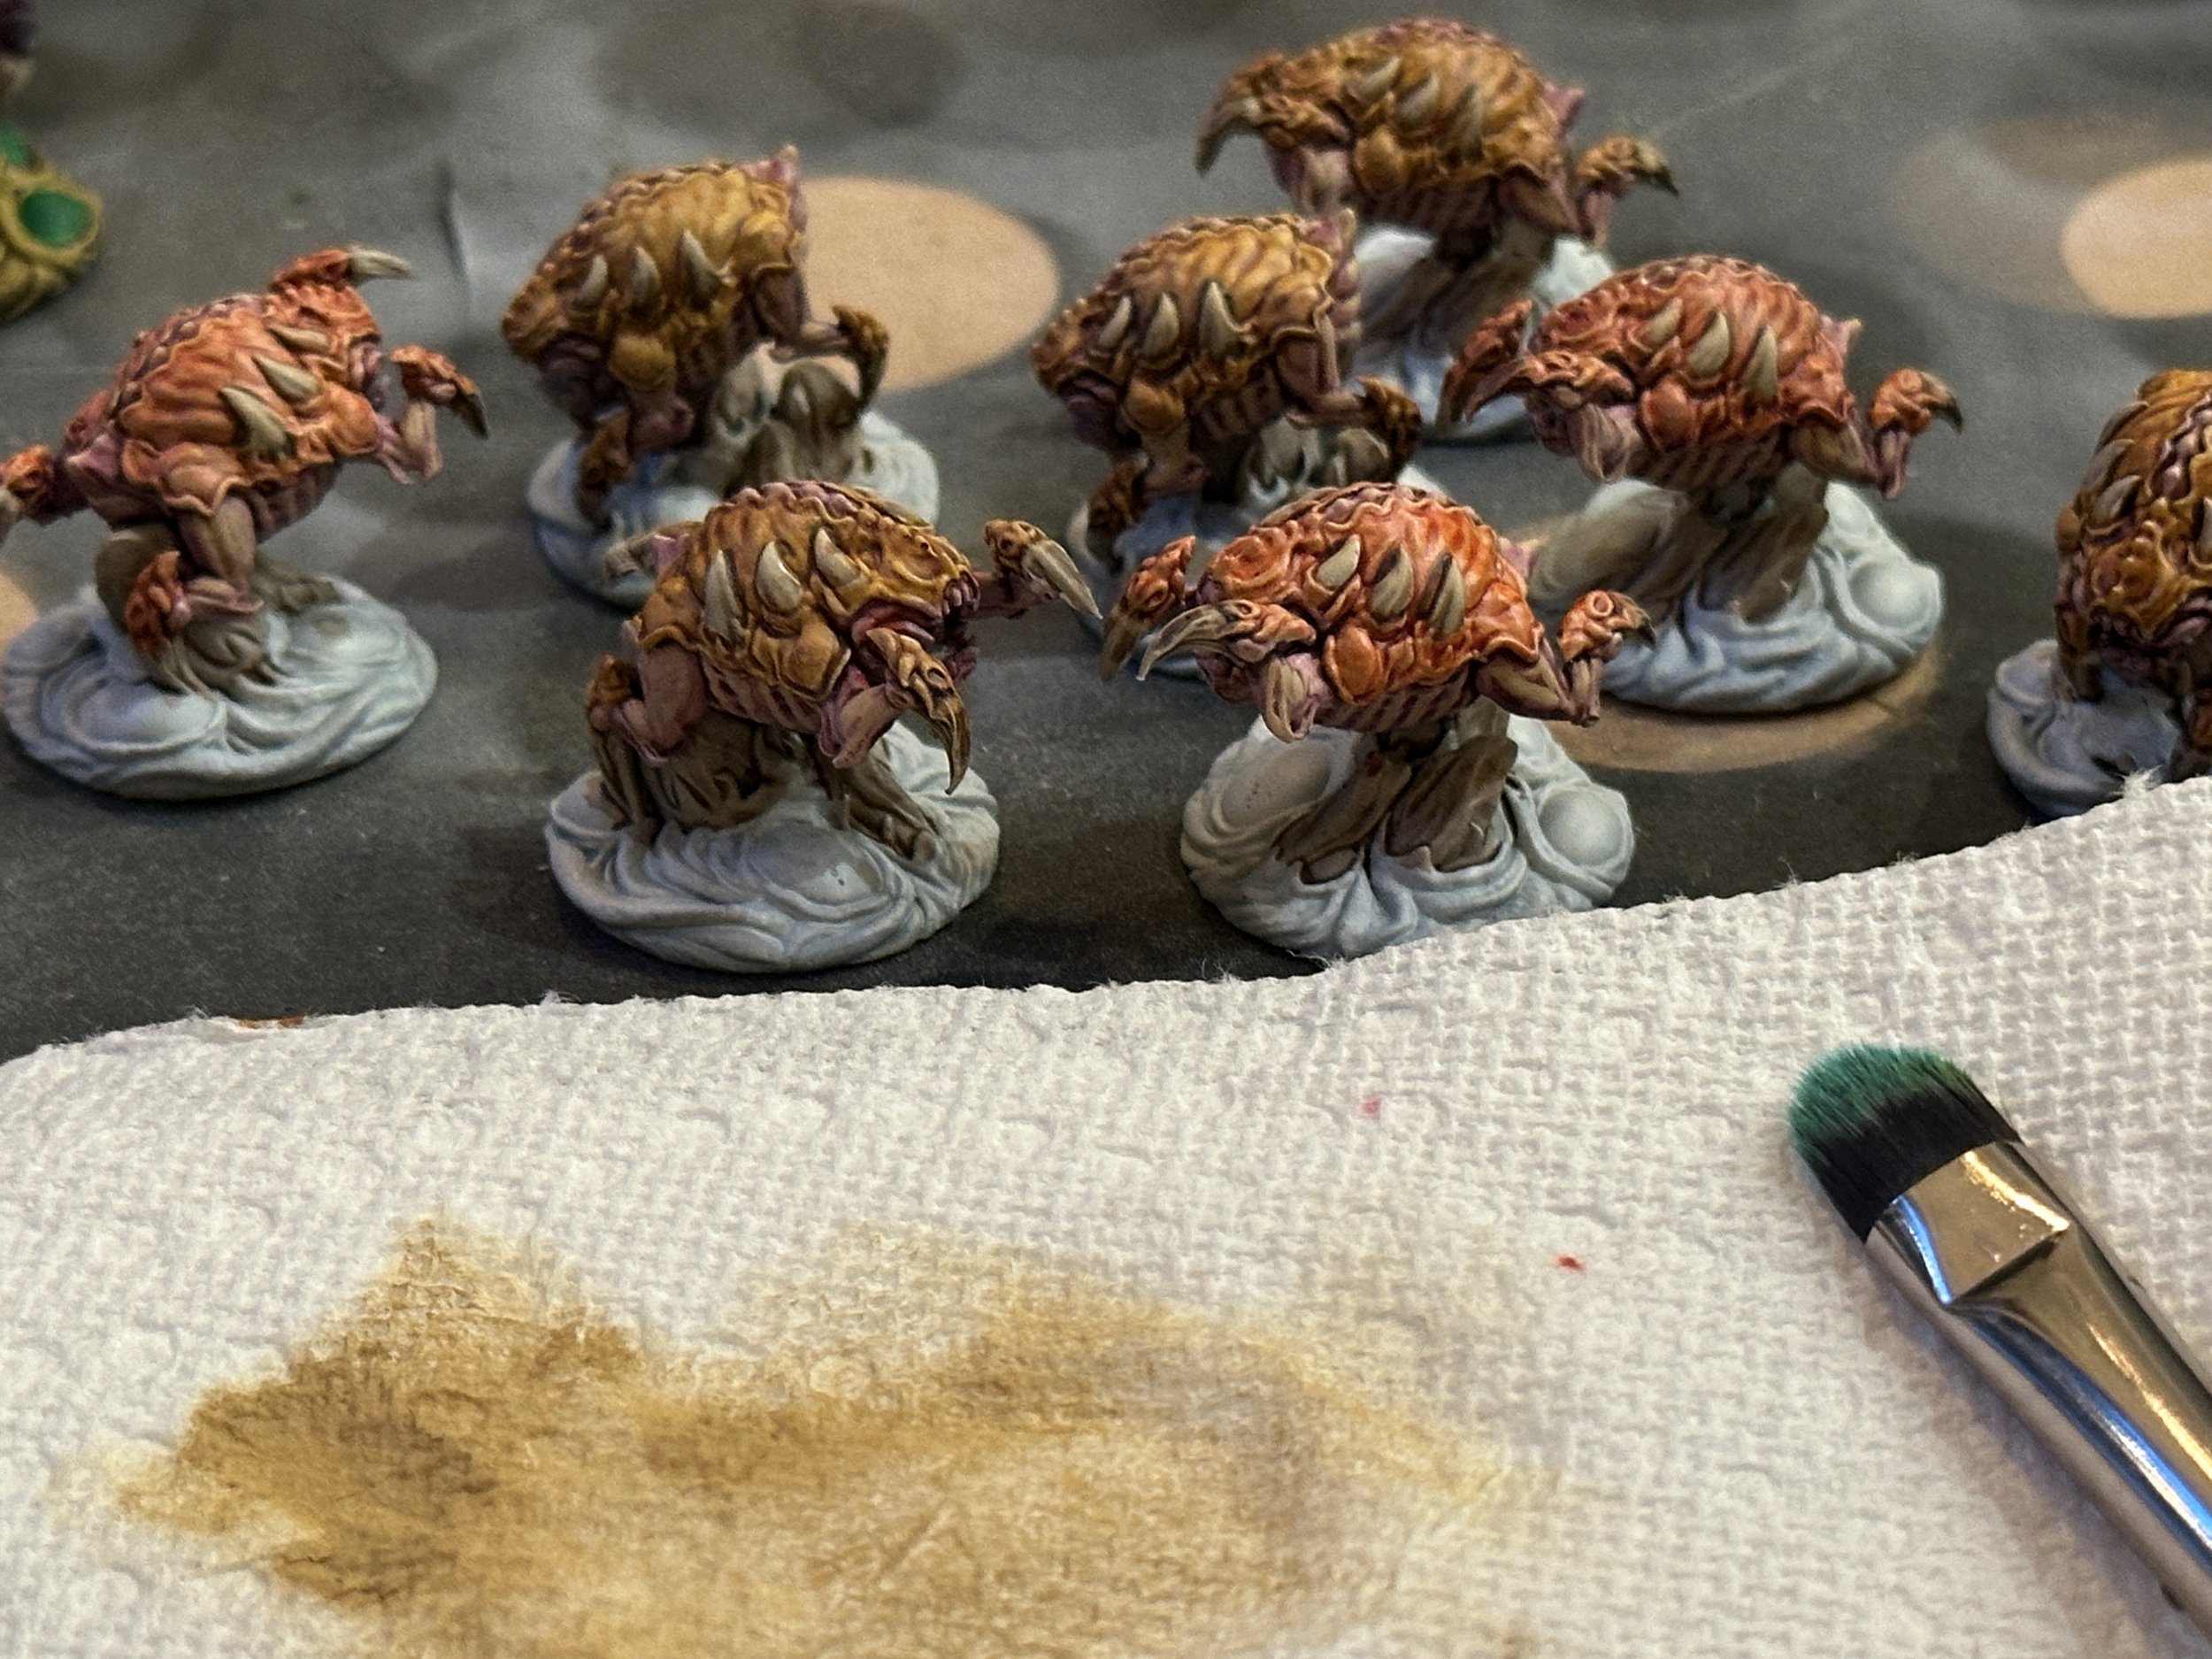
Next, I use Speed Paint Hive Dweller Purple, Fire Giant Orange and Sand Golem to give three different color variations. This is where you can really explore! I try to avoid the spikes and bones but if you spill onto them, it’s no big deal. We’ll clean it up later.
Spikes and Bones
Next, let’s tackle those spikes and bones. I used Speed Paint Bony Matter again on the shell spikes. I also applied this color to the spikes on the base. I also used this color on the ends of the talons. You can see where I spilled over some in the previous step. It’s no big deal. We’ll clean it up!
Skin Highlight
The next step is a bit optional depending on what you want to do with your skin tone. For me, I went in with Vallejo Iraqi Sand. Alternatively, you could use Skeleton Bone from The Army Painter or Ushabti Bone from Citadel. I try to give some highlights to the skin, leaving the purple in the recesses
Drybrush
With the Iraqi Sand still on my pallet, I give a light drybrush to the model. This ties in the colors and highlights and makes the model somewhat weathered. Remember to wipe most of the paint off on a paper towel before applying.
Bone Highlights
You can see the drybrush really brought out some areas on interest. I grabbed a bone color, in this case The Army Painter Skeleton Bone, and highlighted the spikes and claws. He does have some around his face that I can tell.
Armor Highlight
I grab some armor highlight colors. For the purple, I had Vallejo Blue Violet on hand. For the orange, I went with The Army Painter Lava Orange. I left the Sand Golem color as is and didn’t apply any highlights. Just be sure to grab a lighter color than you started with!
Bases
For the bases I did Speed Paint Ochre Clay. You can be sloppy here and go back over the bubbles with a white of your choice. I did.
Bases
I finished the bases in two parts. One with Speed Paint Ork Skin and then a topping of Citadel Tesseract Glow.
Finish It Up
For the last step, I painted the inside of the mouth and teeth with Speed Paint Blood Red. Now, let your horde run wild!
I had 20 of these guys to paint up, so efficiency was key! These little guys are a pleasure to paint as are all Ravaged Star models. Don’t forget a matte varnish of your choice to protect your work when finished.


